


The K2 SmartObjects available in the K2 Designer are usually associated with Data Sources registered via the SmartObject Services Tester.
In this blog I’d like to show you not only how to register a new SQL Server Service instance using the K2 SmartObject Services Tester, but generate the associated K2 SmartObjects as well.
For the purposes of this blog I have created a new Database in SQL Server called CompanyDatabase and created three associated tables i.e. Customers, Products and Invoices.
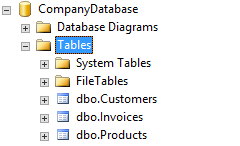
Figure 1 – Example Database
K2 Automated Testing Software
BenchQA allows full test automation of K2, including fully automated K2 SmartForms and K2 Workflow testing. It promotes test driven development for K2 and ensures continued quality assurance for K2 solutions. Easily apply changes to test cases to accommodate changes to K2 apps and ensure all apps are regression tested to avoid defects and assure continuous quality.

First of all, we need to double-click the “SmartObject Service Tester.exe” file found in the “Bin” directory located in the K2 Blackpearl application folder. This will open the K2 SmartObject Service Tester.
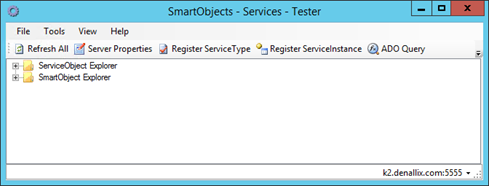
Figure 2 – SmartObject Services Tester
Next we need to register a new SQL Server Service instance. Click the “Plus” next to “ServiceObject Explorer” in the tree view.
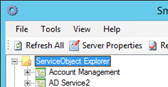
Figure 3 – Service Object Explorer
Scroll down and find the item labelled “SQL Server Service”. This is where you’ll find a list of all the previously registered SQL Server Services. Right click this item and select “Register Service Instance”. The “Add Service Instance” dialog window will appear.

Figure 4 – Register Service Instance
The “Add Service Instance” dialog window will appear.
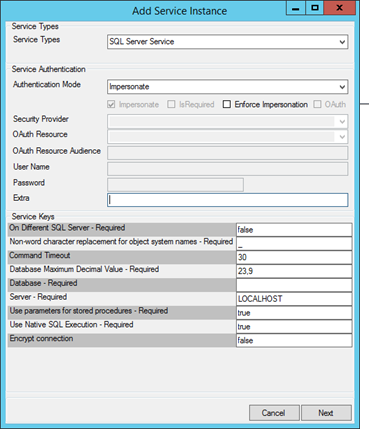
Figure 5 – Add Service Instance
The area of the dialog that we will be focusing on will be the “Service Keys” area at the bottom of the screen. Enter the Database name in the “Database” field and the Server address in the “Server” field.
Click on the “Next” button.

Figure 6 – Add Service Instance
Confirm the details of the new SQL Server Service instance in the “Service Instance Information” window. Click on the “Add” button to finalise the new instance. A message will appear notifying you of the successful addition.

Figure 7 – Success Message
Your new SQL Server Service instance can now be found by explorer the “SQL Server Service” item mentioned earlier in the blog.
Figure 8 – New SQL Server Service instance
The new SQL Server Service instance is ready for use. The next step is to generate the associated SmartObjects. Right-click on the SQL Server Service instance you just created, and click on the “Generate SmartObjects” item.
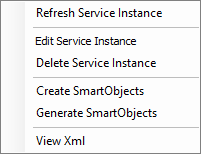
Figure 9 – Generate SmartObjects menu item
The “Generate SmartObject” dialog window will appear. Notice the three areas of interest, “Create SmartObjects”, “Existing Service Objects” and “Removed Service Objects”. We will be focusing on the “Create SmartObjects” section. All the tables from the database we just registered will appear in this section. Use the “checkbox” next to each item, to indicate which items you’d like to generate.
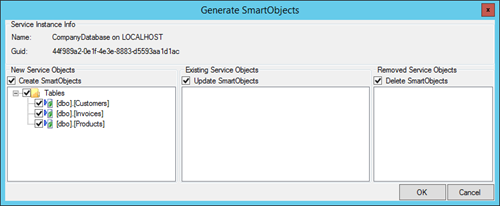
Figure 10 – Generate SmartObjects
Click on the “OK” button to continue. Your K2 SmartObjects have now been generated and are available to use in the K2 Designer. The “Generate SmartObjects” tool is a great way to quickly generate the K2 SmartObjects associated with your Data Source. All the CRUD functions have been generated and are available without the need to manually create each one.