


In this blog, we learn how to create a leave the approval system using a Nintex workflow which automatically passes the request through a two-level approval from the Line Manager and then finally, the HR Manager.
Below are the steps to create a new workflow.
Step 1. Click “Create workflow” on the left top of the home screen.
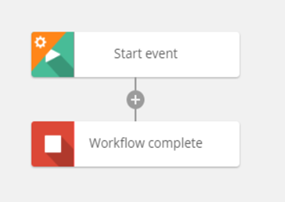
A new workflow is created as shown below.
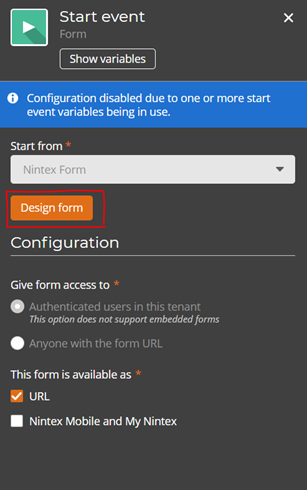
Step 2. Click start event or right-click and select configure to open the configuration window.
Step 3. Click on the design form in the configuration window (as below).
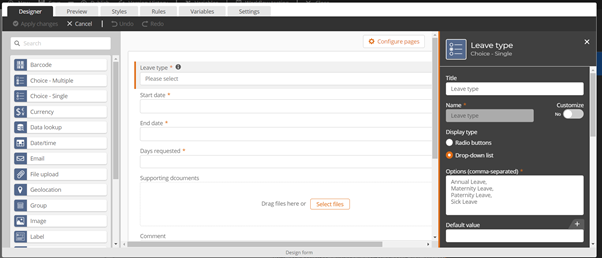
Step 4. The design form will open a new form to allow you to input the details.
Step 5. Drag and drop the controls from the toolbox on the left of the screen, then click on the controls and configure them as required.
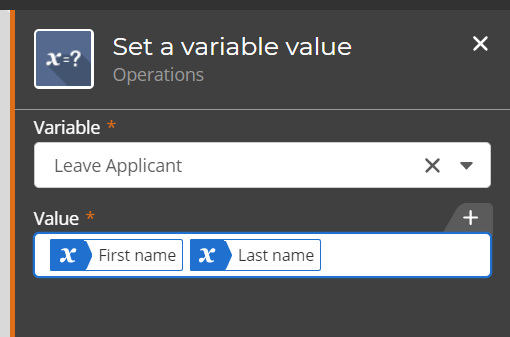
Step 6. Drag and drop “Set a variable value” control and assign the first name and last name of the workflow initiator, which can be used as a single variable across the workflow.
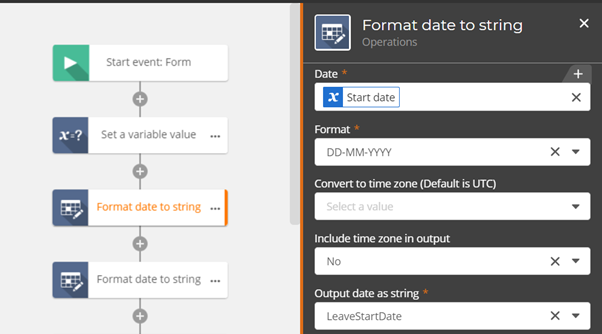
Step 7. Drag and drop the “Format date to string” control to convert the ‘leave from’ and ‘leave to’ Date/Time to be the only date range to be used across the workflow.
Step 8. Add “Assign a task” control and configure with the required details. Fill the assignee details and message details in the configuration window.
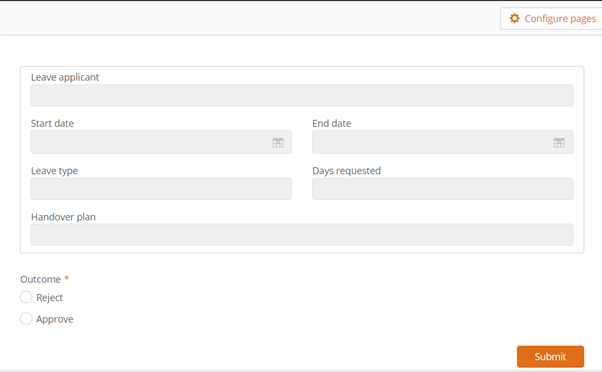
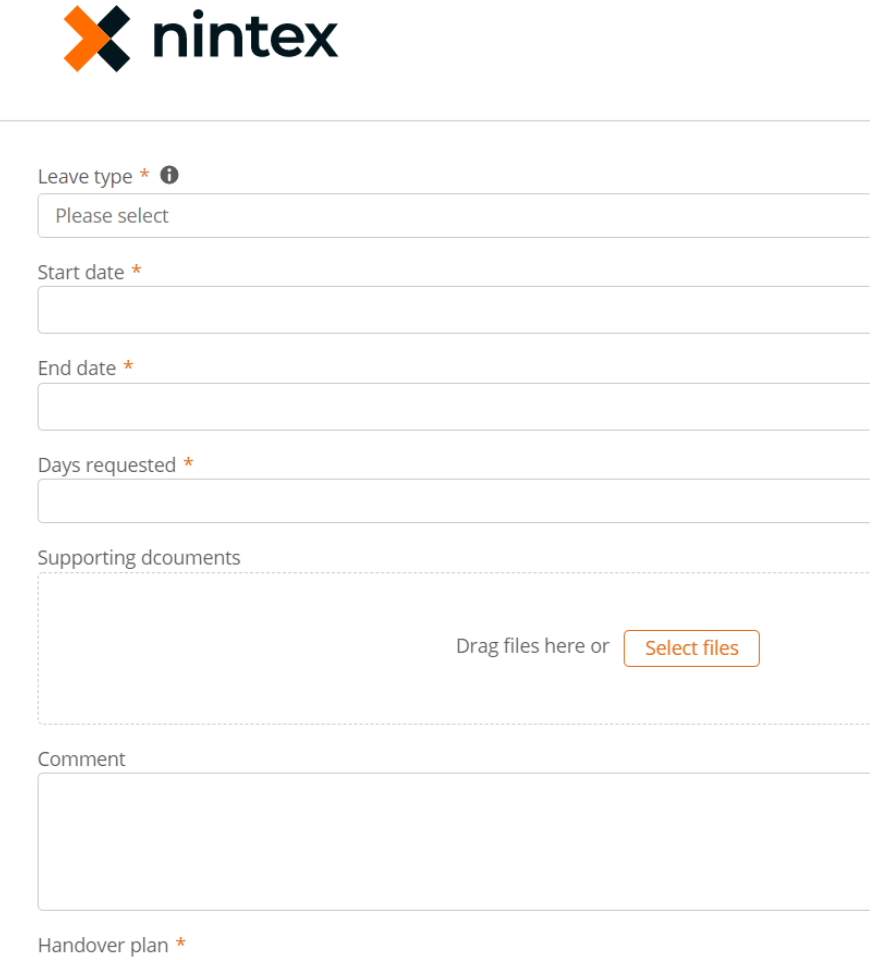
Step 9. Add the form for the assignee and add the required fields in the form as shown below.
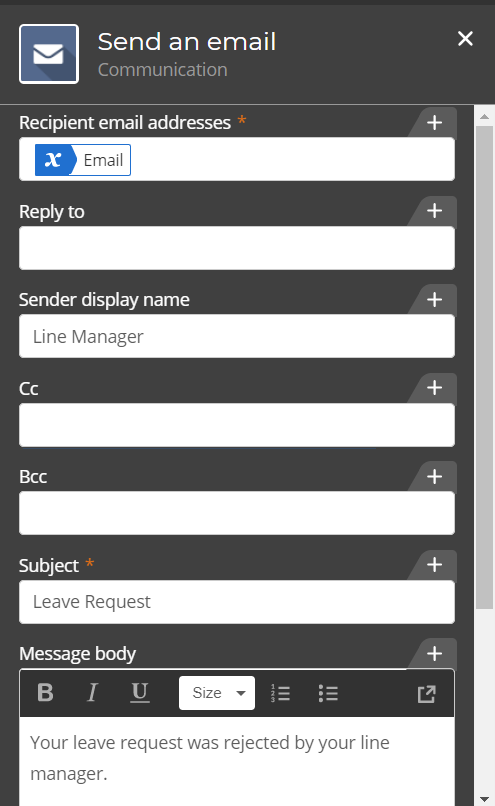
Step 10. Drag and drop the “Send an email” control on the reject side of the “Assign a task” control and configure mail details to send the user.
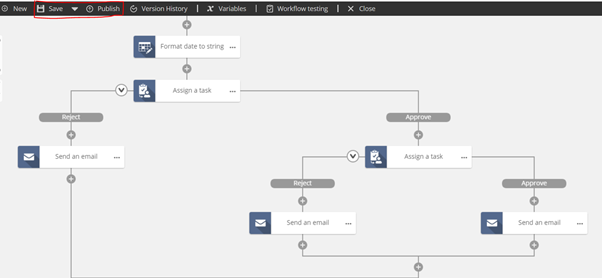
Step 11. Add another “Assign a task” control on the approved side of the Line Manager task and configure as mentioned earlier for the Line Manager.
Step 12. Configure the “Send an email” for both outcomes of the HR approval task.
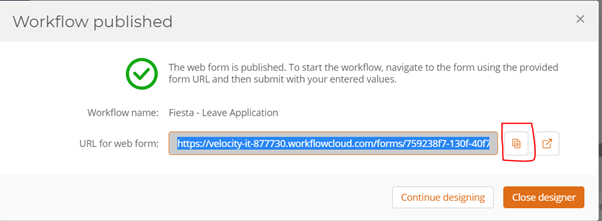
Step 13. Save and publish the workflow with the required details like name, type, and share with.
Step 14. Copy the link of the workflow and run it on the browser.
Step 15. Now we can see the newly created workflow is up and running on the browser.
This completes the steps to create an Employee Leave Request using a Nintex workflow.
Need support with using Nintex?