


K2 Workflow Email Event
In this week’s blog, we’ll have a look at one of the K2 Workflow Event Wizards. Events in the K2 Workflow perform specific functions when they are reached during execution. The E-mail Event for example, will send an E-mail to a specific user or group of users when the event is executed.
In order to find this component, open up the Toolbox and navigate to the “Event Wizards” section. Find the component labelled “E-mail Event”, and drag and drop the component onto the designer.
K2 Automated Testing Software
BenchQA allows full test automation of K2, including fully automated K2 SmartForms and K2 Workflow testing. It promotes test driven development for K2 and ensures continued quality assurance for K2 solutions. Easily apply changes to test cases to accommodate changes to K2 apps and ensure all apps are regression tested to avoid defects and assure continuous quality.

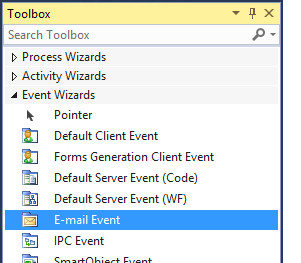
Figure 1 – E-mail Event in the Toolbox
As soon as the component is dropped onto the Designer, the E-mail Event Wizard will automatically appear.
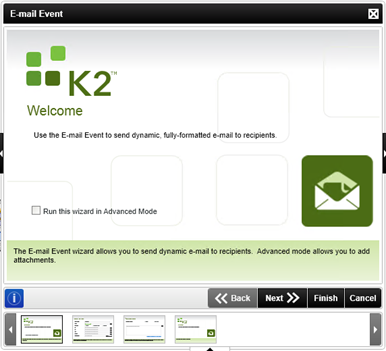
Figure 2 – E-mail Event Wizard
Use the “Back” and “Next” buttons to navigate through the steps in the Wizard. On the first page of the Wizard, click the “Next” button to Navigate to the E-mail Settings.
Specify a name for your event by entering one in the “Event Name” textbox. This is the name that will appear in the Task List once the task is assigned to a User.
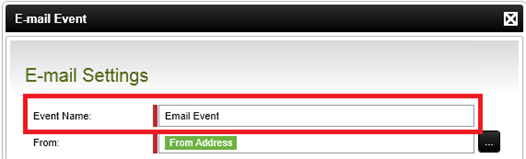
Figure 3 – Event Name
Now enter the details of the E-mail you’d like the Workflow to generate once the event is executed. Enter the “From Address”, “To”, “CC”, BCC”, “Subject” and where necessary the “Attachments”. Notice that it is possible to enter these values by simply typing them into their respective field. Alternatively it is also possible to use the “Context Browser” to select values, in order to make the process more dynamic.
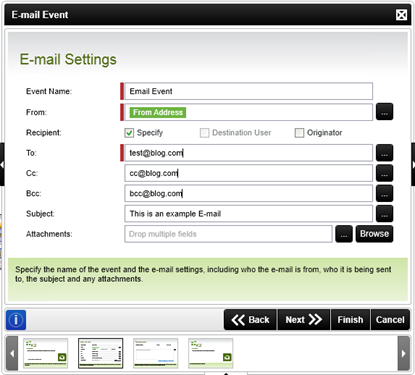
Figure 4 – Email Settings
Once all the relevant fields have been entered, click on the “Next” button to view the “Message Body” screen. Enter the content of the e-mail into the “Message body” field. Once again it is possible to enter plain text, or select dynamic text from the “Context Browser”. Seeing as multiple fields from the Context Browser may be used. It is entirely possible to build up a message from dynamic fields.
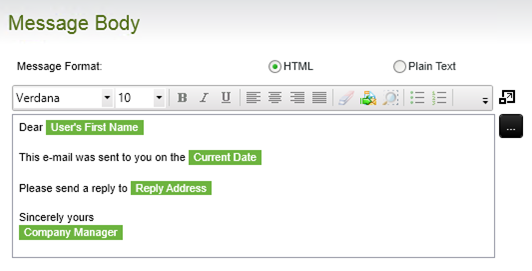
Figure 5 – Message Body
Now that we have entered the relevant information into the E-mail Activity, click on the “Next” button to finalize the Wizard.
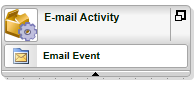
Figure 6 – Email Activity
The E-mail Activity you just created will now appear on your K2 Workflow Designer. The Next step would of course be to associate the Event with your workflow in just the right place, to ensure it gets executed exactly when it’s meant to.