


When working with K2 Workflow components, it is often necessary to specify when a K2 Workflow component may execute. We can control the time of execution, by configuring what is called a “Start Rule”.
In today’s blog, this is exactly what I’ll show you how to do. First we’ll need a Workflow Activity. A Workflow Activity is a container for K2 Workflow components. Drag-and-Drop an event from the toolbox onto the K2 Workflow Designer, the event will automatically be placed inside a Workflow Activity.
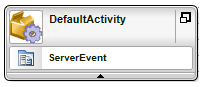
Figure 1 – Default Workflow Activity
K2 Automated Testing Software
BenchQA allows full test automation of K2, including fully automated K2 SmartForms and K2 Workflow testing. It promotes test driven development for K2 and ensures continued quality assurance for K2 solutions. Easily apply changes to test cases to accommodate changes to K2 apps and ensure all apps are regression tested to avoid defects and assure continuous quality.

Now hover your mouse over the newly created Workflow Activity, and run the default wizard by clicking on the down arrow that appears on the right hand side.
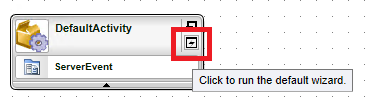
Figure 2 – Opening the Default Wizard
The “Activity General Properties” dialog will appear and display the default tab “General Properties”.
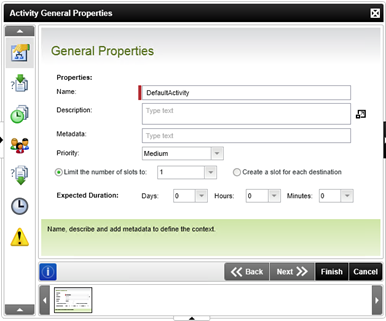
Figure 3 – Activity General Properties
On the left side of the dialog, you’ll notice seven icons, each representing a separate Tab. Click on the second tab to view the “Start Rules” screen.

Figure 4 – Start Rule tab
This is the tab we will use in order to specify when the activity may execute. By default the activity Starts immediately. Notice the “Start Immediately” radio button has been selected.

Figure 5 – Start Immediately
Instead of starting immediately you can specify when an activity may execute in two ways.
The first way involves delaying the activity by an exact amount of time. To do this, select the second radio button “Start:” on the Start Rule tab. Now use the “Days”, “Hours”, “Minutes” and “Seconds” field to specify an amount of time by which to delay the activity before executing.
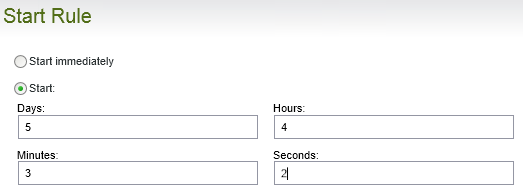
Figure 6 – Exact amount of time
In this example I have specified the amount of time by entering numbers in the available fields. Please note however that it is also possible to drag and drop items from the Context Browser in order to specify an exact amount of time. Click on the black arrow, on the right hand side of the Start Rule tab to open up the Context Browser.
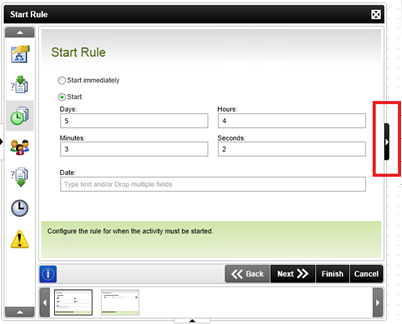
Figure 7 – Opening the Context Browser
Navigate to the appropriate field or item, and drag and drop the item into one of the available fields. Here I have dropped a data field into the Hours field.
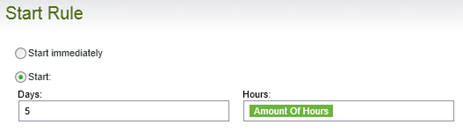
Figure 8 – Using Data Fields to specify time
An additional way to delay the execution of an activity, is by specifying the exact date of execution. To use this method, enter the date in the “Date” field at the bottom of the Start Rule tab.
Figure 9 – Date Field
As you can see there are multiple ways of delaying the start of an activity. Choose the method most appropriate to your situation. Always remember to click on the “Finish” button once you’ve made any changes to the configuration or none of the changes will be saved.