


K2 WorkFlow Event
One of the most important components of the K2 Workflow is the ability for Users to interact with workflow items. This is accomplished by creating tasks for Users to interact with. While we have already focused on the ability to create tasks, in this blog, we will be focusing on whom we are creating these tasks for. We call these Users, Destination Users.
First we’ll need a Workflow Activity. A Workflow Activity is a container for K2 Workflow components. Drag-and-Drop an event from the toolbox onto the K2 Workflow Designer, the event will automatically be placed inside a Workflow Activity.
K2 Automated Testing Software
BenchQA allows full test automation of K2, including fully automated K2 SmartForms and K2 Workflow testing. It promotes test driven development for K2 and ensures continued quality assurance for K2 solutions. Easily apply changes to test cases to accommodate changes to K2 apps and ensure all apps are regression tested to avoid defects and assure continuous quality.

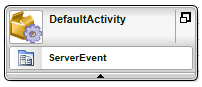
Figure 1 – Default Workflow Activity
Now hover your mouse over the newly created Workflow Activity, and run the default wizard by clicking on the down arrow that appears on the right hand side.
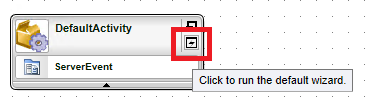
Figure 2 – Opening the Default Wizard
The “Activity General Properties” dialog will appear and display the default tab “General Properties”.
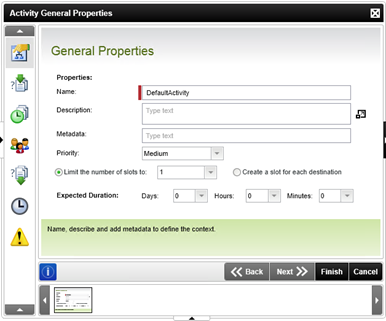
Figure 3 – Activity General Properties
On the left side of the dialog, you’ll notice seven icons, each representing a separate Tab. Click on the fourth tab to view the “Destination Users” screen.
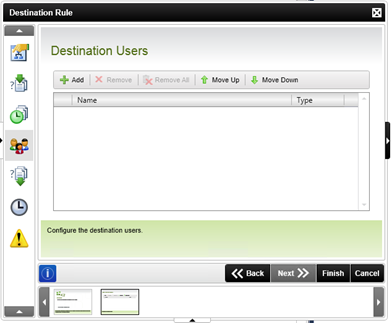
Figure 4 – Destination Users
This is the tab we will use in order to specify which users to allocate the tasks to. To add a new Destination User, click on the “Add” button. This will add a new record to the Destination Users grid.

Figure 5 – New Destination Users
In order to allocate a specific destination user, type the name of the user into the newly created Textbox. Alternatively click on the “Browse” button to open the “Context Browser”.

Figure 6 – Context Browser
At this point it is not only possible to select a specific user from the Users or Groups tree view, but also select a field from a SmartObject containing the name of a User or Group. Once you’ve selected a User, click on the “OK” button.
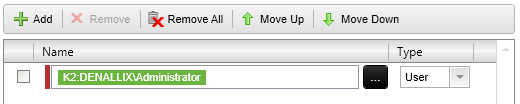
Figure 7 – Selected Destination User
Remember to use the drop down menu to specify whether or not you have selected a Group or a User. In this case, I have left it on “User”. To finalize the process, click on the “OK” button on the Workflow Activity screen.
Now that you know how to add a new destination User, we need to discuss the effect it will have on the rest of the Workflow Components.
When a “Default Client Event” workflow component is added to the designer, you have the option to add new destination users to that particular component. But as soon as you add Destination Users to the Workflow Activity itself, the option to add Destination Users to the component disappears. The reason for this, is that K2 assumes that when you add Destination Users to the Workflow Activity, you want to use the same Destination Users for all Default Client Events added to the Workflow Activity.
If your situation calls for different Destination Users per Default Client Event, make sure you remove all Destination Users from the Workflow Activity containing the Default Client Events, and then add the specific Destination Users to each of the Default Client Events available.