Upload multiple files with k2 smartforms
As a K2 developer you are often required to provide users with the ability to upload and store multiple files, and make these files available to other users. This is very easily achievable with K2 Smartforms. In this post we will do a quick run-through of how to accomplish this.
K2 Automated Testing Software
BenchQA allows full test automation of K2, including fully automated K2 SmartForms and K2 Workflow testing. It promotes test driven development for K2 and ensures continued quality assurance for K2 solutions. Easily apply changes to test cases to accommodate changes to K2 apps and ensure all apps are regression tested to avoid defects and assure continuous quality.
When K2 stores a file it makes use of an XML data structure to store the file name, as well as a base64 encrypted string which contains the actual file content. The XML structure looks as follows:

The first step is to create a table in which we will store the files. Our table will simply consist of a database-generated id as a primary key and an XML field to store the file, as indicated in the screenshot below.

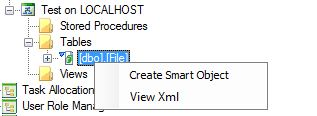
Next, we need to create a smart object which we will use to access this table. The simplest and quickest way to achieve this is by using the SmartObjects – Services – Tester. Simple right click on the table and select ‘Create Smart Object’, as indicated in the screenshot below.
In the wizard screen that follows simply give the Smart Object an appropriate name, select a Category, and publish it (red arrow). Note that the XML field is of type ‘Memo’ in the Smart Object (green arrow).
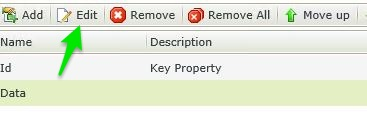
Now that the Smart Object has been published we need to change the data property from the current memo field type to a file field type. Select your SmartObject in the designer, and press edit.

Now select the Data property and once again press edit.
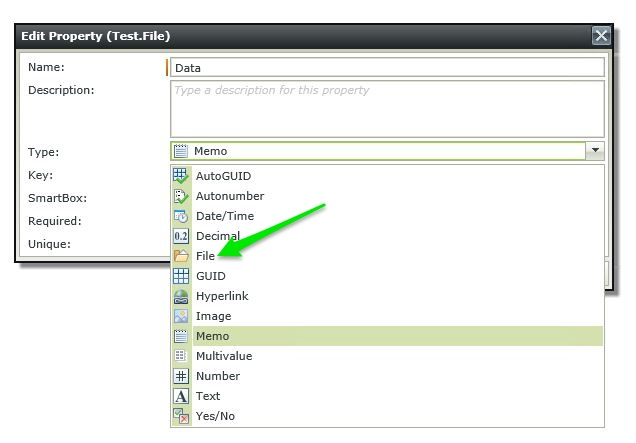
In the Type drop-down box change the type to File, press OK and Finish.
Next we need to build a view in K2 Smart Forms. In the first screen of the view designer give your view a name, select List View as the view type, select your newly created Smart Object as the Data Source and the List method of the Smart Object as the List method, then press next.
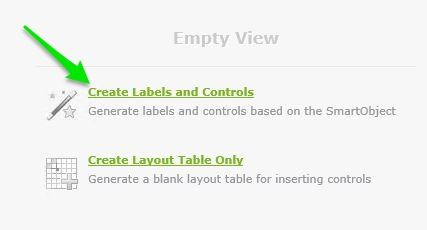
In the Layout screen simply select the ‘Create Labels and Controls’ option.
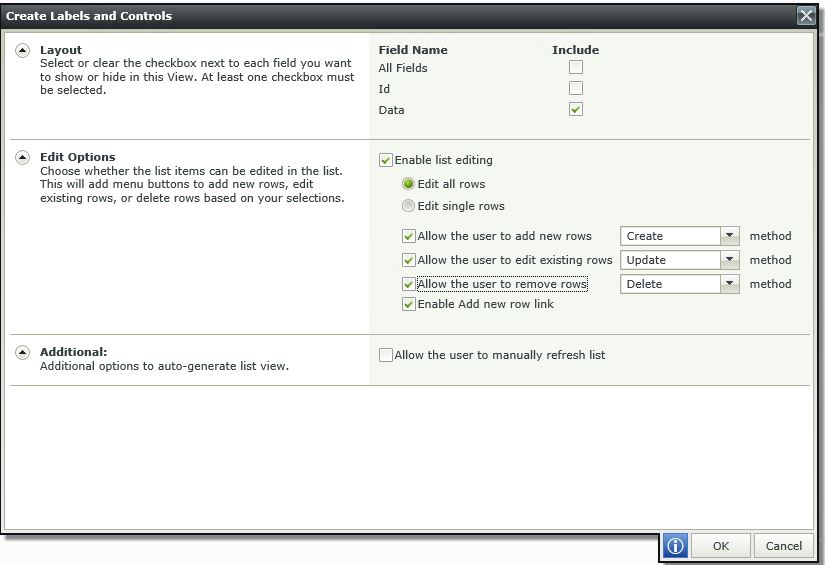
In the following screen select to include the Data field and Enable list editing. Also select the options to allow a user to add, edit and remove rows, and press OK.
K2 will generate a default layout for you. Now you are good to go, it is as simple as that. Running the view will present you with the following screen. To upload a file click on the Add option.

Now select the ‘Click here to attach file’ option, attach your file and press save.

To download the file simply click on the file itself (indicated with a blue arrow in the screenshot above).


