


K2 provides a vast range of options for the user to easily change the appearance of the K2 SmartForm controls. Some styling changes (when it comes to single controls), however, need some additional work to accomplish a specific effect.
K2 Automated Testing Software
BenchQA allows full test automation of K2, including fully automated K2 SmartForms and K2 Workflow testing. It promotes test driven development for K2 and ensures continued quality assurance for K2 solutions. Easily apply changes to test cases to accommodate changes to K2 apps and ensure all apps are regression tested to avoid defects and assure continuous quality.


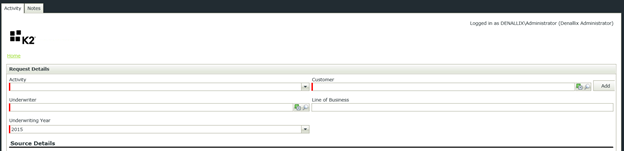
For this example we want all the required fields on our form to have a red 3px border on the left side. The standard K2 styling works for textboxes, textareas as well as drop-down boxes. When we apply the same styling to a picker control, the border gets added on both the left and right side because of the way K2 constructs the HTML for the picker control.
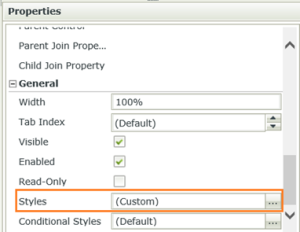
To get going we first need to add a style to add the border. You can do this by clicking on styles in the “General” properties section.
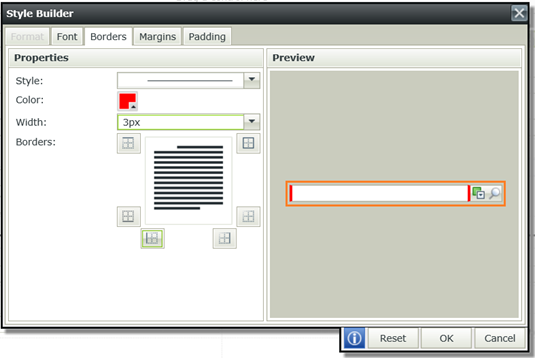
Add the left border. As you can now see the picker control is made up of two different HTML objects and the left border gets applied to both.
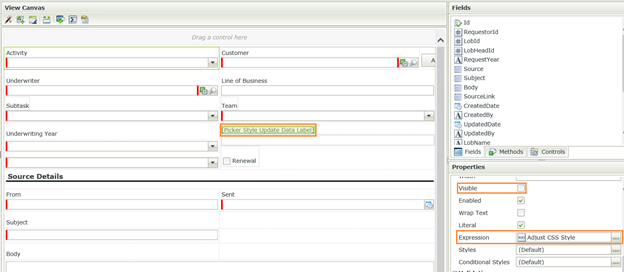
We now need to add some javascript code to remove the left border from the second HTML object. To do this we will add a hidden data label with an expression assigned to it.
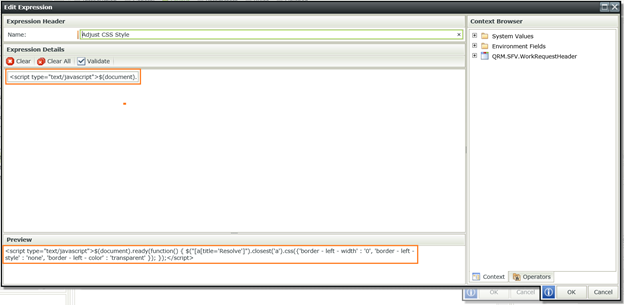
When you add the expression you simply insert your javascript code and look at the preview to double check it in its entirety. The javascript will get picked up as the page initialises.
When you run your application the unwanted border no longer displays.
By using javascript / jQuery in your K2 SmartForms you gain the ability to take a much more custom approach. For more information and examples about how to add javascript / jQuery to your K2 SmartForms view our blog on the topic.