


K2 has great products for the Microsoft SharePoint stack. The K2 for SharePoint 2013 offers a no-code platform for business user and SharePoint administrators to create feature rich and dynamic SharePoint workflow solutions.
This blog post shows you how to create a simple document approval workflow in SharePoint using K2 for SharePoint.
K2 Automated Testing Software
BenchQA allows full test automation of K2, including fully automated K2 SmartForms and K2 Workflow testing. It promotes test driven development for K2 and ensures continued quality assurance for K2 solutions. Easily apply changes to test cases to accommodate changes to K2 apps and ensure all apps are regression tested to avoid defects and assure continuous quality.

The 1st step is to install the K2 App in the SharePoint global app catalogue. Please refer to the K2 installation documentation for further info on installation. Once done, create a SharePoint 2013 site that will host your document library used for document approval.
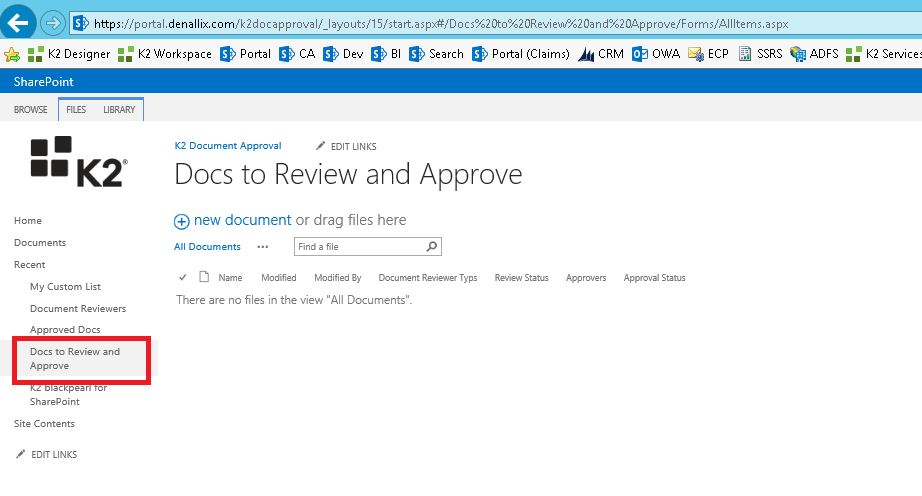
0 – Create Document Approval Site and Doc Library
Once done, add the K2 App and run through the configuration.
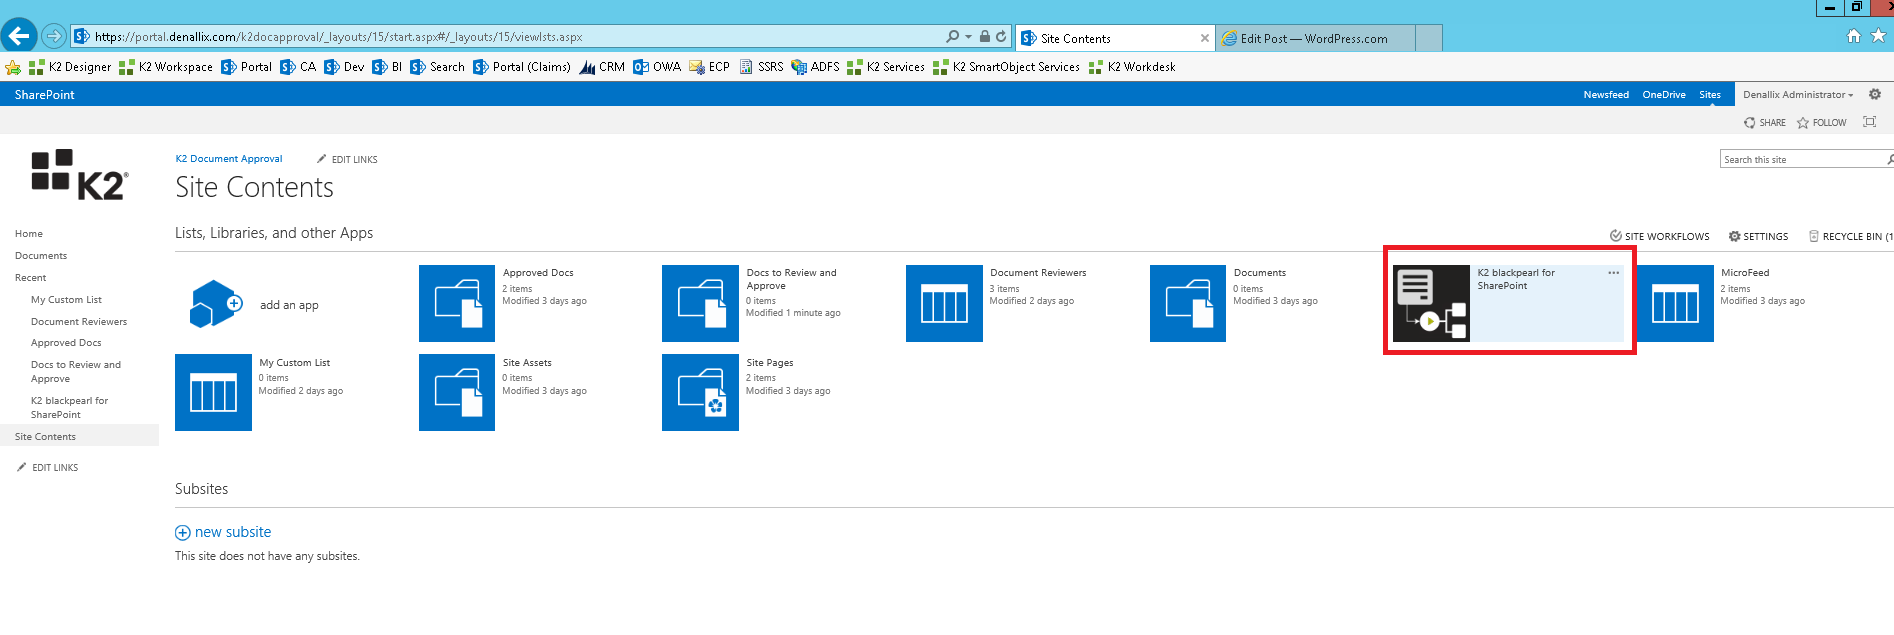
1 – K2 for SharePoint enabled on Site
Open document library settings tab and click on the K2 Application icon.
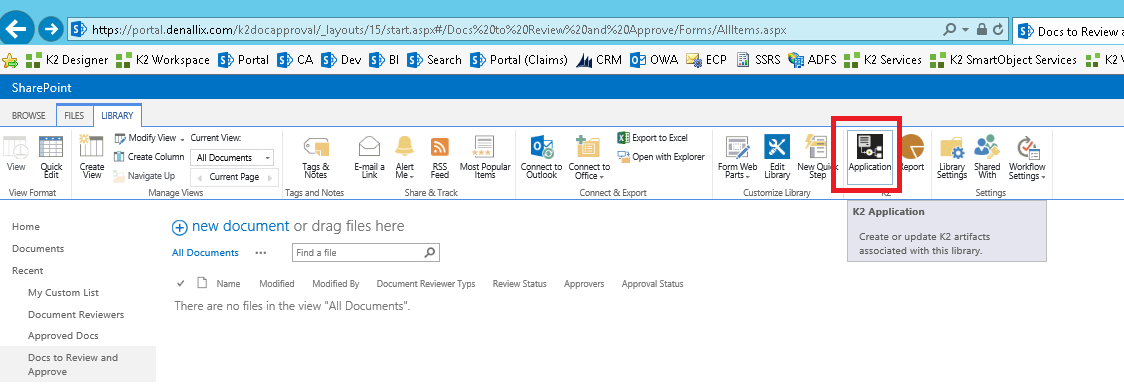
2 – Create the K2 App for the Document Library
Ensure Data, Forms, Workflows and Reports are generated. In the Workflow section, check the box to ensure the workflow starts manually. You can also start it when the document is created, checked-in, etc.
The scenario that is implemented requires an Approval Status to be set to “Pending Review” once the document is submitted for approval and either set to “Rejected” or “Approved” depending on the outcome of a user review. The workflow is shown below:
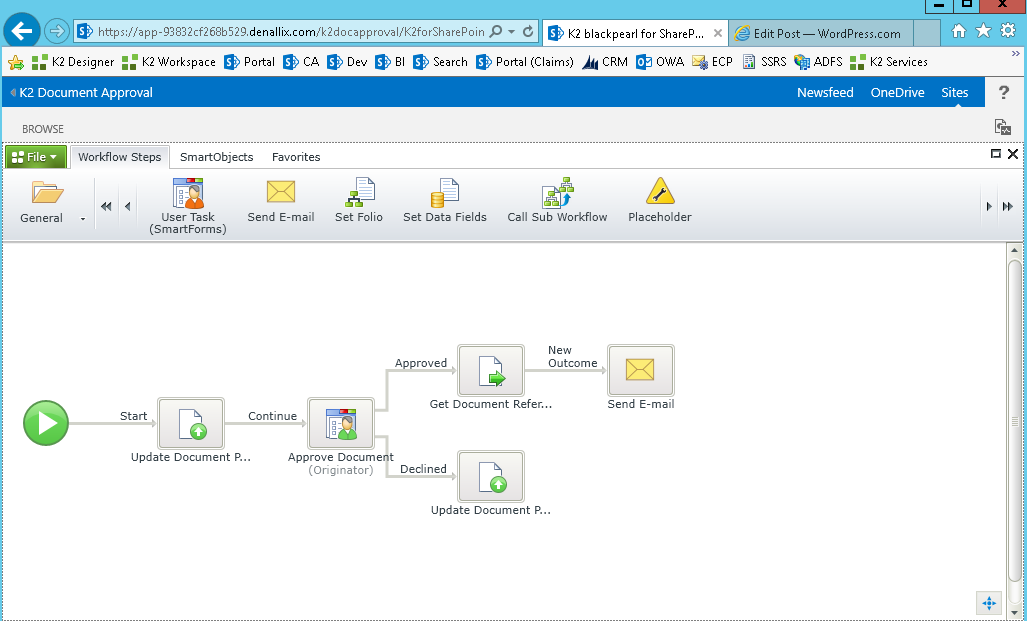
3 – Document Approval K2 Workflow for SharePoint
Looking closely to the Approval Status configuration, it provides the capability to set the document properties. In this case we set in manually, but it can also be set to a dynamic runtime value using the context browser.
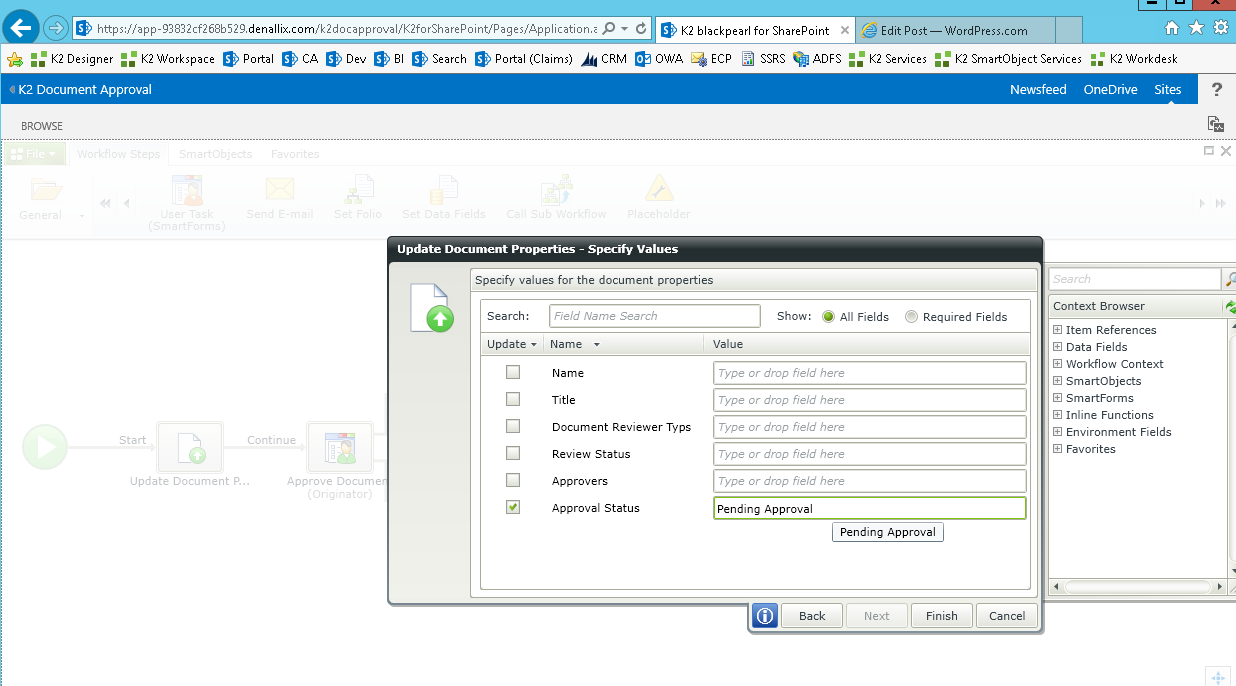
4 – Changing the Approval Status using Update Doc Properties
Next, configure the User Task that assigns a K2 worklist item to the approver. The outcomes in this scenario are Approved and Declined. K2 will create routes based on each action added.
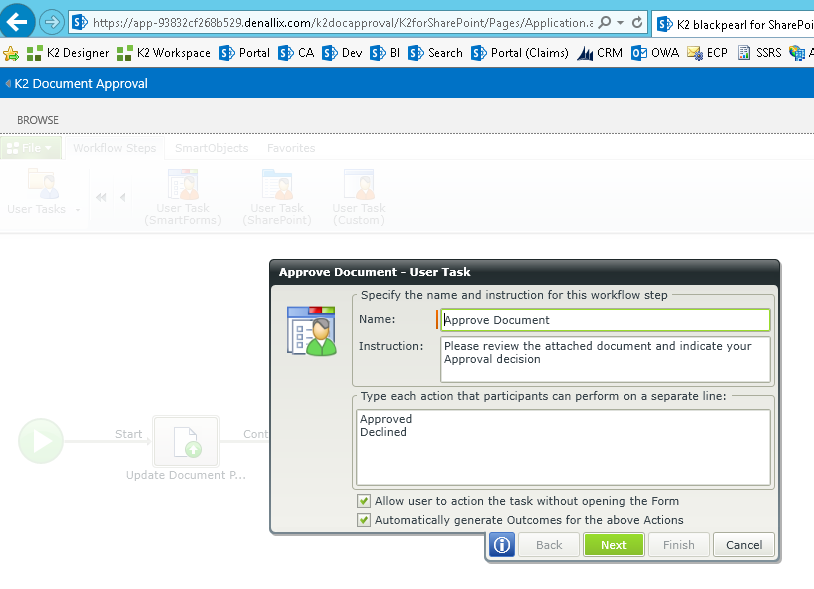
5 – Configure User Task actions and Outcomes
Setup the destination of the task. We assign it to the originator, but it can be assigned to a K2 Role, a SharePoint Group, other users or an AD group. Again, this can be setup to have a dynamic runtime value.
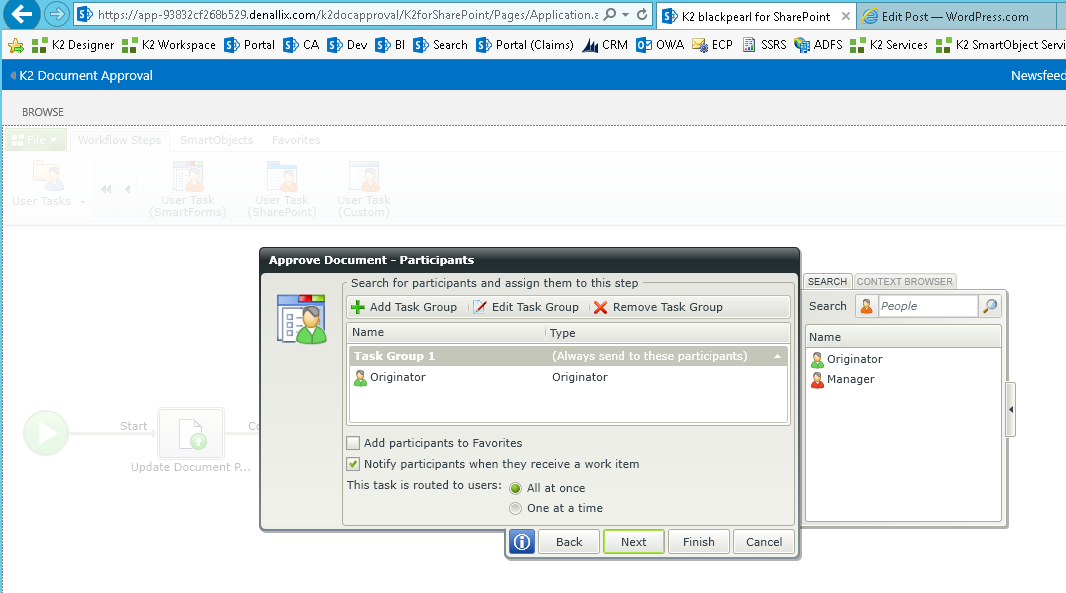
6 – Set Document Approver to the Originating User
The final step is to send a notification to the approver when a new task is assigned to him or her. This is configured using the Event Notification Settings. Notice we attach the document. The user simply need to respond to the email with either Approved or Declined in the responses’ body to action the task. Alternatively they can use the K2 Worklist.
Finally, we add a notification to the document owner when the document is approved.

8 – Approval Notification
Once the workflow process is completed, deploy it
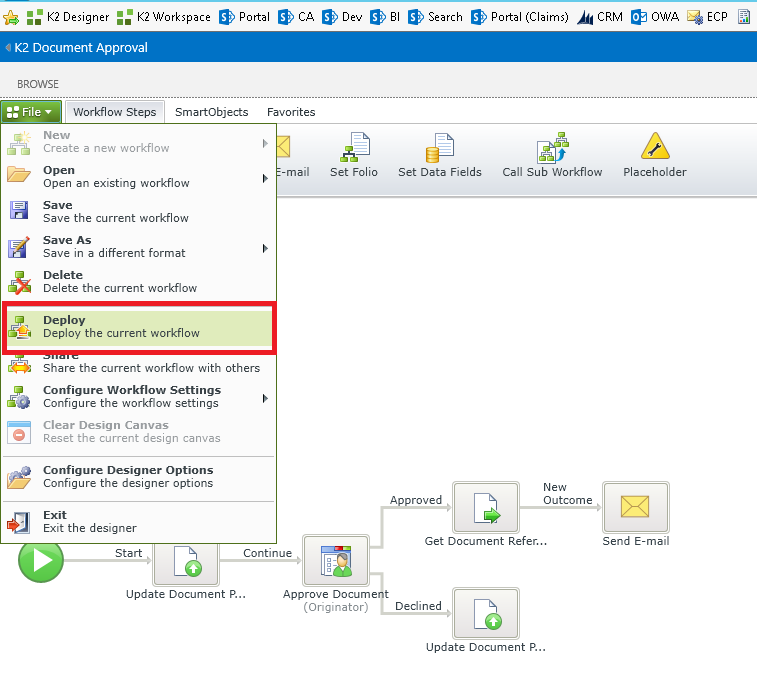
9 – K2 for SharePoint workflow deployment
To test, upload a new document to be approved.

10 – Upload a new document

11 – Upload a new document
Once uploaded, click on the K2 Workflow and Start the workflow
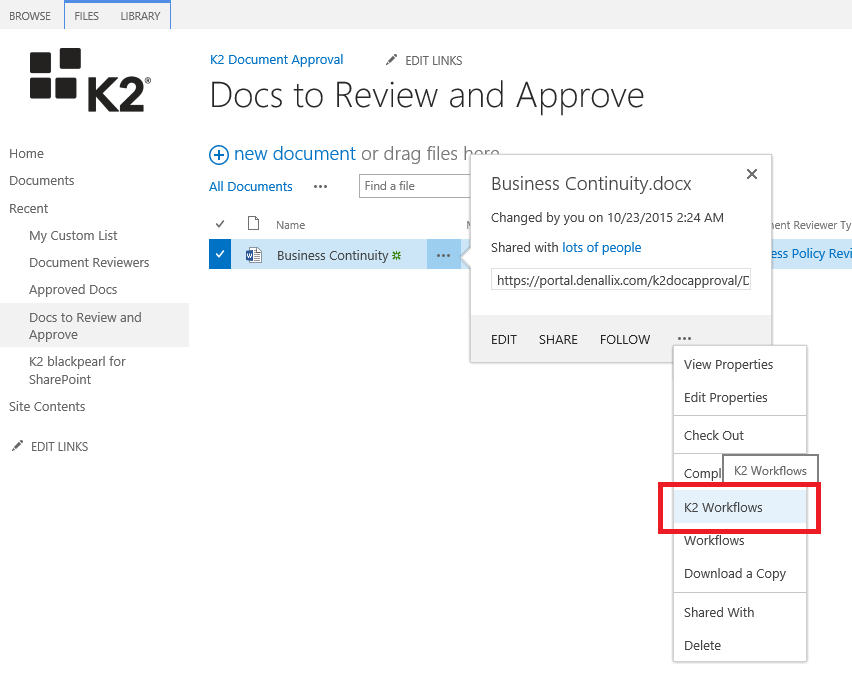
12 – Start the K2 Workflow using the context menu
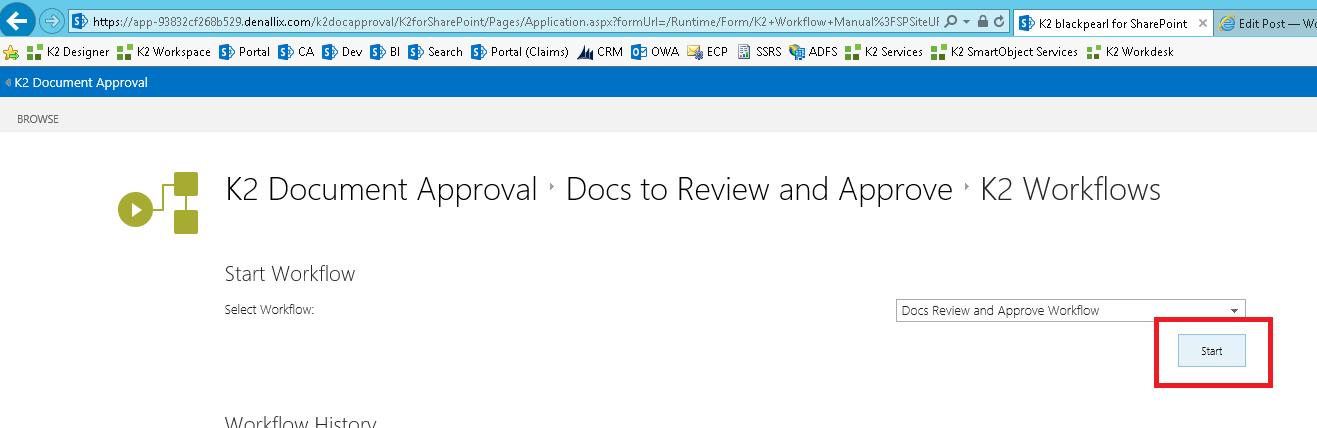
13 – Select and start the K2 Workflow
Notice the document approval status updated immediately after the workflow started
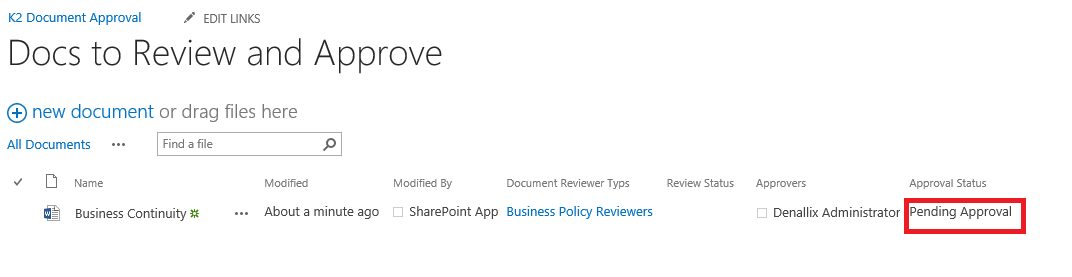
14 – Status update
Open the worklist and notice the approval task is assigned to the user. Click on ViewFlow to notice the progress of the workflow in real time
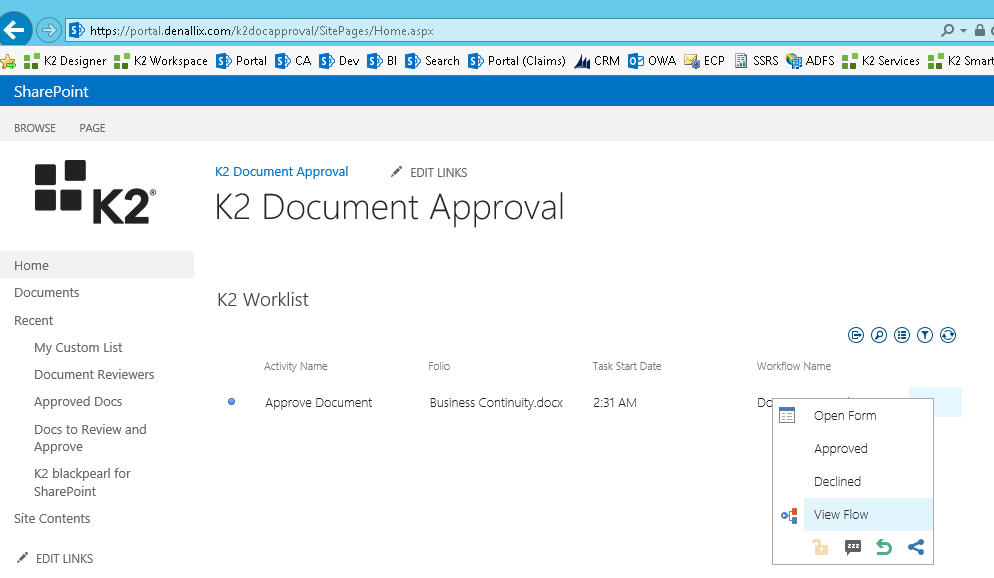
15 – Open Worklist and ViewFlow show the progress
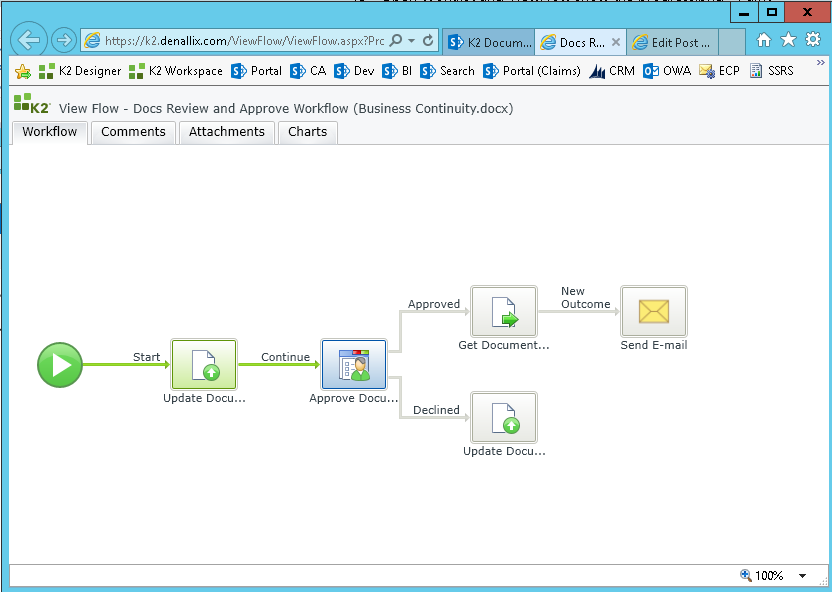
K2 ViewFlow
The approver also gets an email to request approval of the document
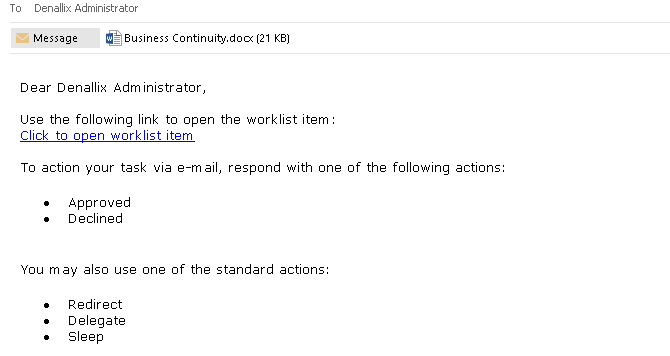
16 New Document Approval Request email
Click on the Approve action to approve the document.

17 – Approve the Document
Finally, the person that submitted the document for approval gets a notification that the document has been approved. Notice the K2 system also included a link to the document.
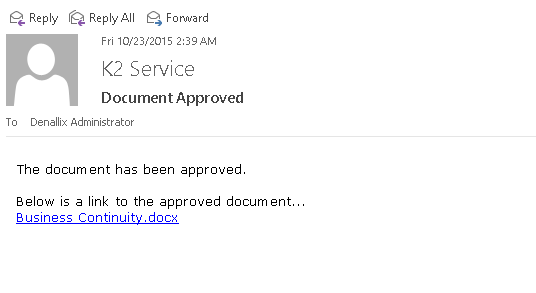
18 – Document Approved – Email notification
For more information on K2 and K2 solutions, please visit our Velocity IT homepage