Downloading large data files from K2 SmartForms synchronously can sometimes cause performance and user experience issues. This problem is not limited to K2 and this blog post will show you how to apply a pattern to request a data download from K2 and receive the data via email or a download link for download later.

In this blog, we’ll demonstrate how to create and send an Excel spreadsheet which contains list view data as email attachment using a K2 process.
The first step is to retrieve the data and save it in a file. In the example, we will create an Excel file inside a K2 process. In order to do this, we will implement the EPPlus .NET library to create an Excel spreadsheet. You can download the .NET library here.
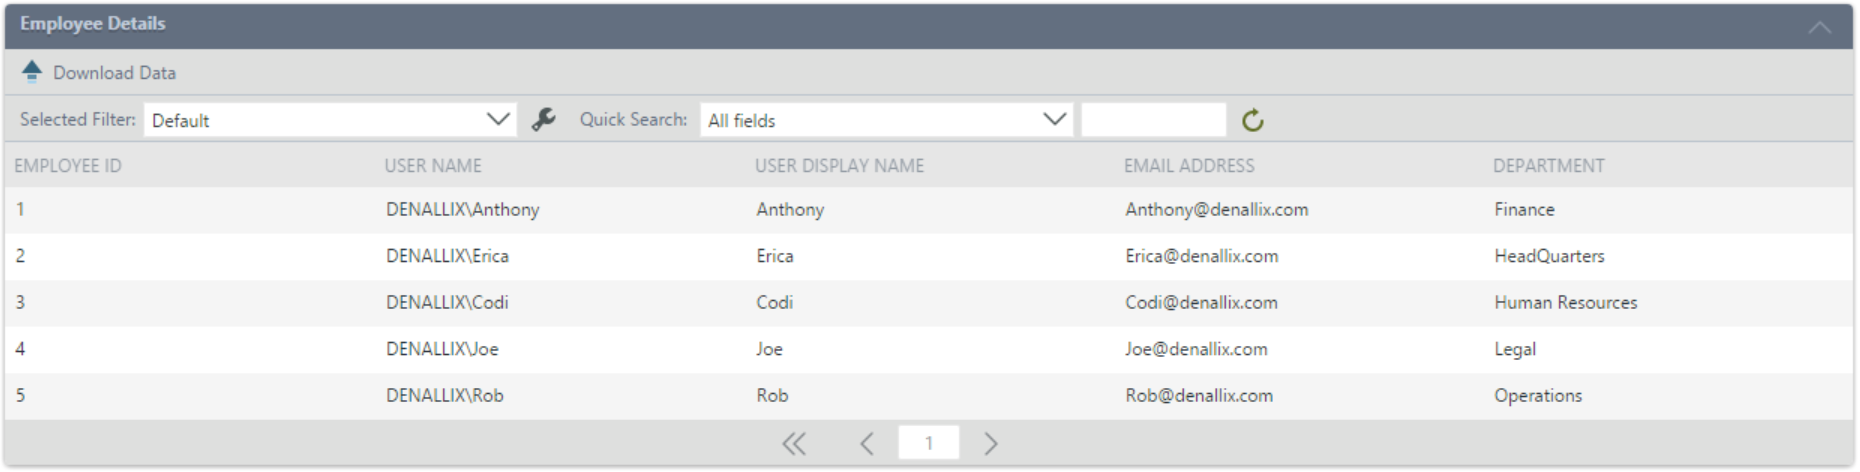
Consider the example of an Employee Details list view which has a Download Data button and we need to input Employee details in Excel and email this to the logged-in user upon clicking the Download Data button.
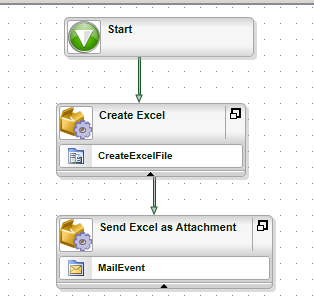
The K2 process will simply have 2 events. First, a Default Server Event (Code) to fetch data and create an Excel spreadsheet, and second, an Email event to send the spreadsheet as attachment to the user. You can also send a link that points to the generated file to the user if you don’t want to attach it to the email
Follow the below steps to create the Excel spreadsheet –
- Create a new K2 project and add a new process
- Add the process reference of EPPlus .NET library to the K2 process
- Add two data fields FileName and FileContents to the process (disable data versioning)
- Add Default Server Event (Code) to process to create an Excel file
- You can write the code below in code behind of Default Server Event (Code)
We need to have an Excel template which we can clone to create an Excel file. The template will vary based on the client requirements. We can store this template in any Windows folder or in a SharePoint document library. In this example, we’re storing the template file on the drive as follows.

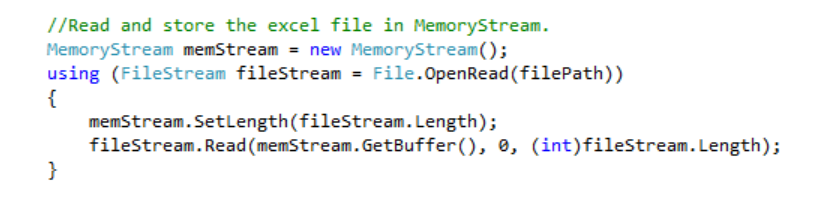
The next step is to read the Excel template and store it in memory stream object as shown below:
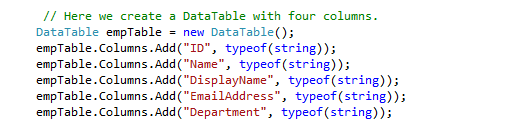
Then we can create data table to hold the data return by Employee Details SmartObject.
You can use K2 API’s to populate data table with data returned by List method of Employee Details SmartObject.
After populating the data table, you can use ExcelPackage class to create an excel file and write that data to it as shown below:

You need to convert the ExcelPackage object to byte array [] after writing data to worksheet.
![]()
And you need to convert the byte array [] into Base64String and store it into string variable. You can use any file name and store both file name and file contents to process data fields as shown below:

- Now you can attach the created Excel spreadsheet to the email event as follows:
You can add an email event and select the option Run this wizard in Advanced Mode.
Select Originator as Recipient and provide Subject on Email Settings screen, provide email body and then navigate to attachment screen.
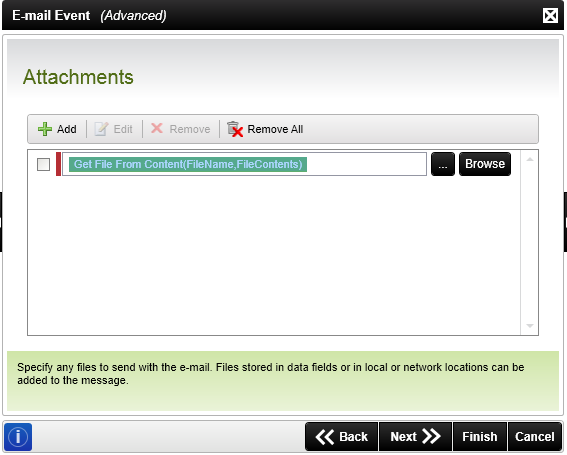
Open Context browser > Process/Activity Data > expand process data field and drag FileContents data field to Content textbox and then it will pop up a new window asking the file name. Drag the FileName data field to FileName textbox and click on finish button.
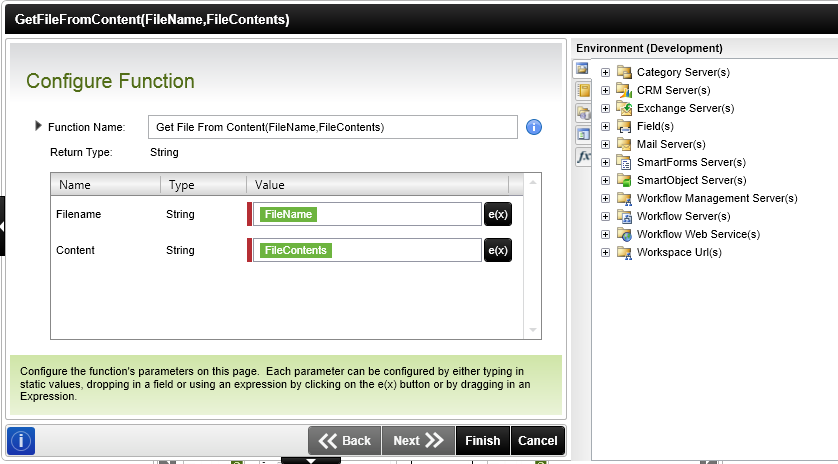
It will show you the below screen. Click on the finish button to complete the email event configuration.
Remember to create an additional event that clears the FileContents to avoid large data contents committed to the K2 database
- You can now deploy the process.
Now you can add Start a Workflow action and configure the process on When download data button click rule on your View.
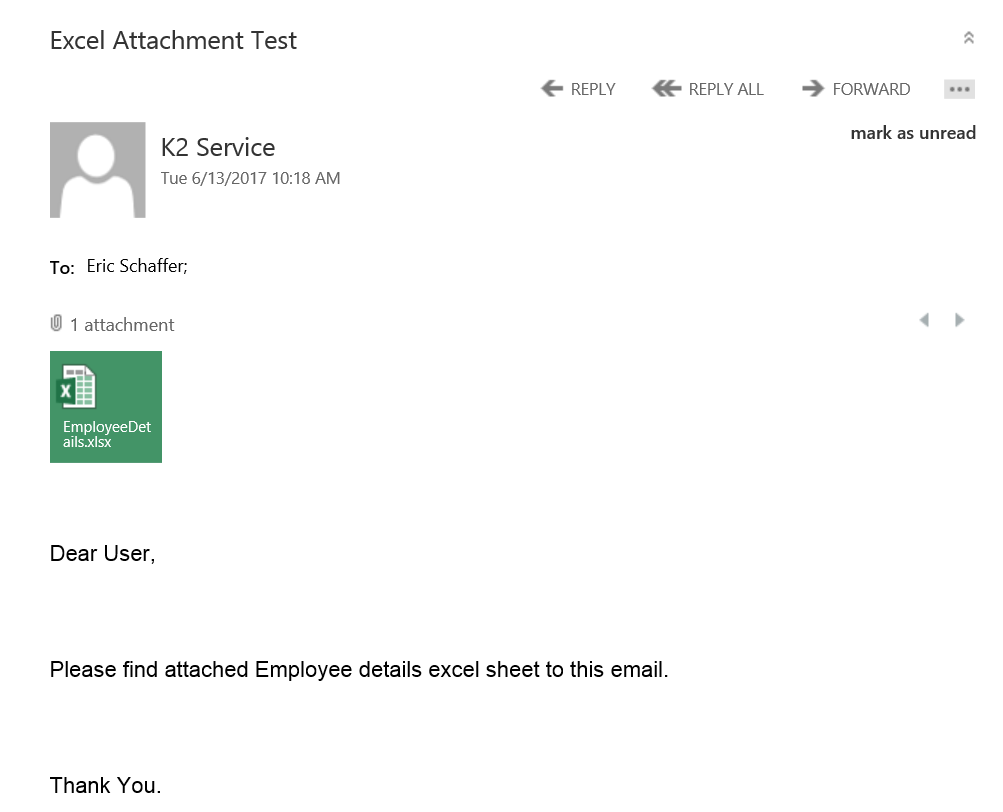
After clicking on Download Data button, you can verify your inbox for the email with the attachment.