


benchQA is Velocity IT’s test automation tool developed exclusively to automatically test applicaitons built using the K2 low-code platform. With over a decade of experience of working with delivering successful automation projects using K2, Velocity IT have fine-tuned this this handy and time-saving test automation tool to support K2 developers with the efficient delivery of their projects – the licence for benchQA is free to subscribers, get started today, download your copy of benchQA.
In this blog, we are going to help you set up your benchQA licence and get started with testing your first K2 project.
Step 01
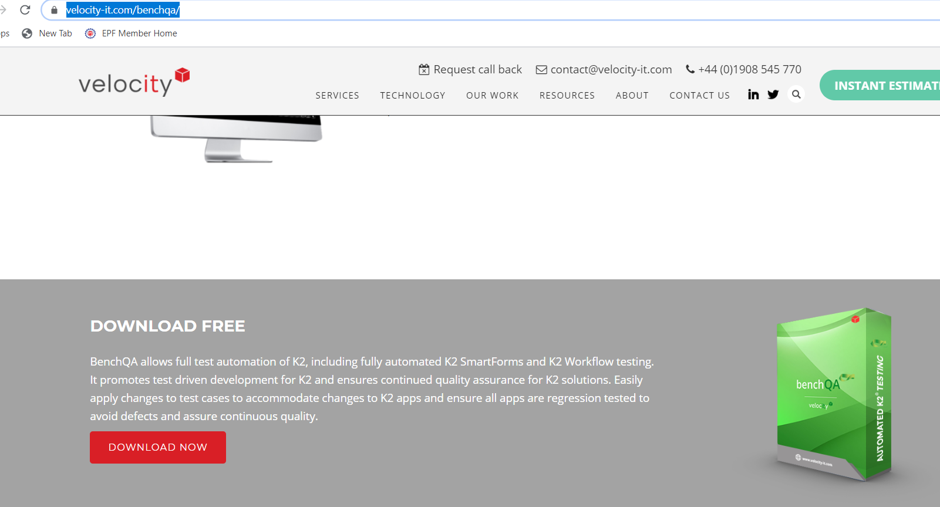
Download BenchQA by clicking here and pressing the download now button.
Step 02
Install benchQA by double-clicking on the MSI file.
Step 03
Register BenchQA with Velocity to get a free licence by filling the licence activation form.
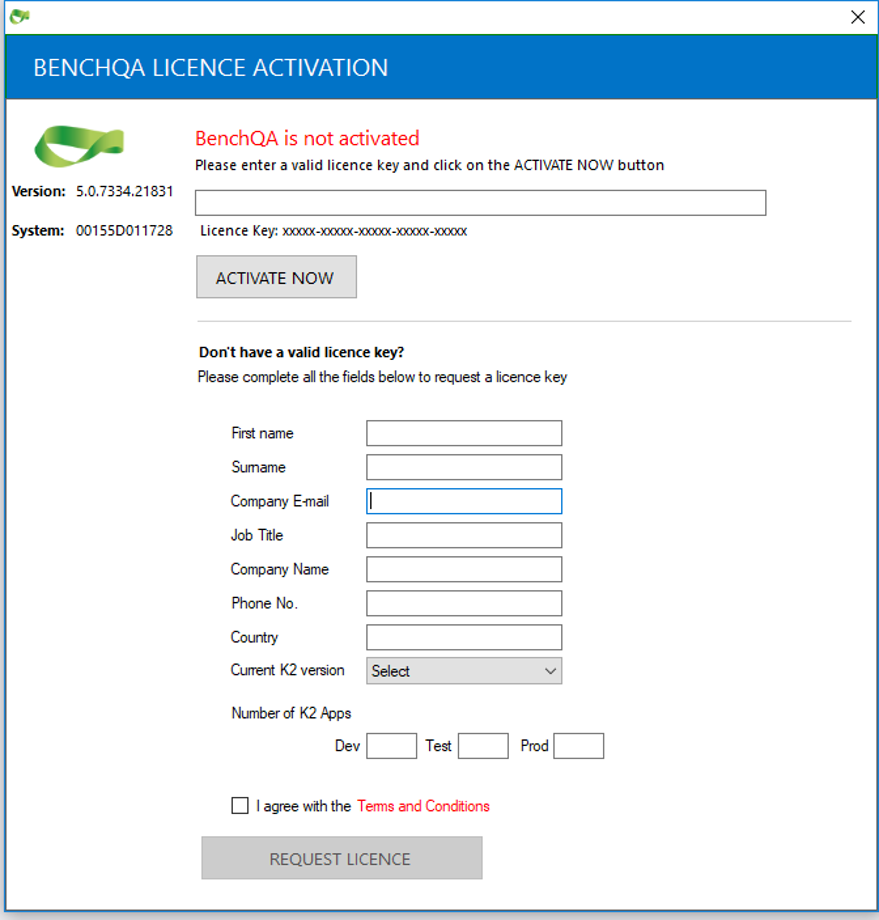
4. Once registration is completed, you will receive an email containing your licence key.
5. Register the BenchQA with Licence Key receive in email.
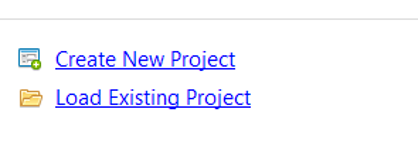
6. Then click “Click New Project” in the project explorer window.
7. Select the K2 version for the new project and click ”Next”.

8. Enter the project name and path of the new project to be created.
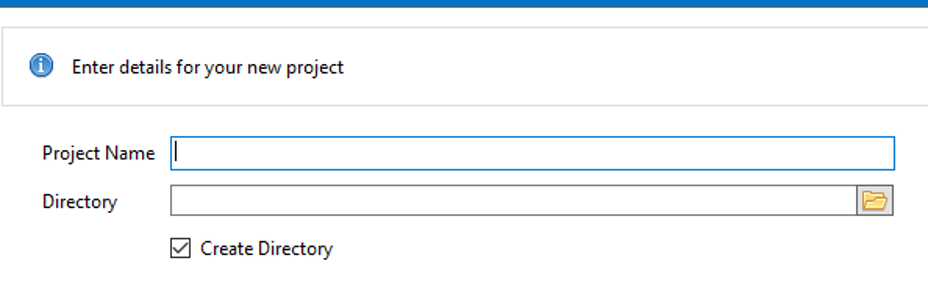
9. Click the “Next” button.
10. Click on the “Add” button to add a new K2 connection for the project as shown below.
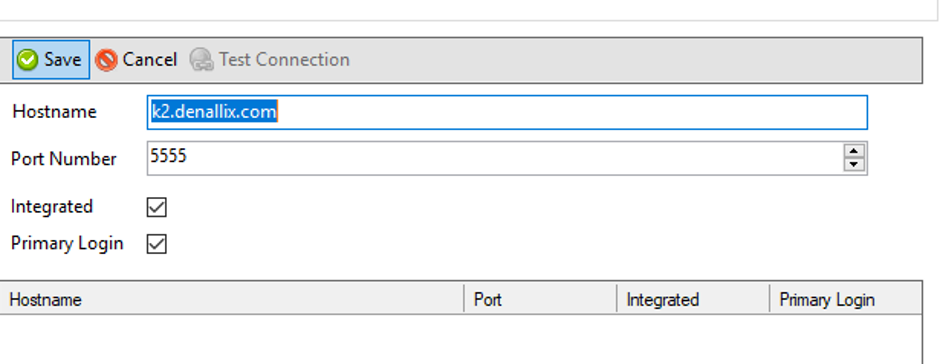
11. Enter your K2 server details then click the “Save” button.
12. Then click “Test Connection” to check BenchQA can communicate to your K2 Server and click the “Next” button after “Test Connection” succeed.
13. Then select the K2 project folder you want to test with BenchQA, please select only required folders for better performance.
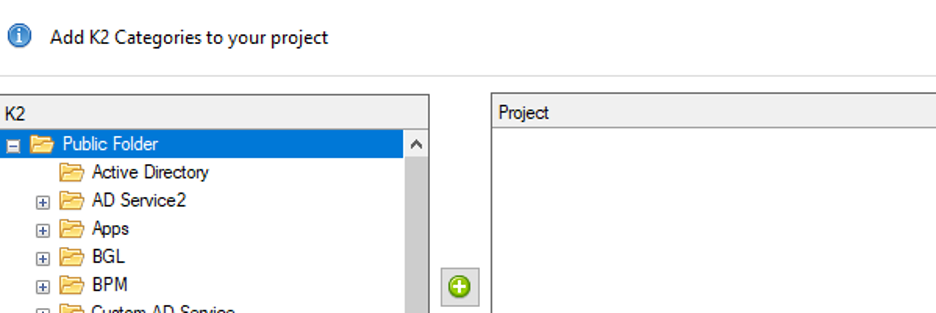
14. Then click “+” in the K2 category window to add it to the project.
15. Then click “Finish” to create the new BenchQA project.
The new project is created, now let’s see how to create a new test case and open your K2 from in the browser.
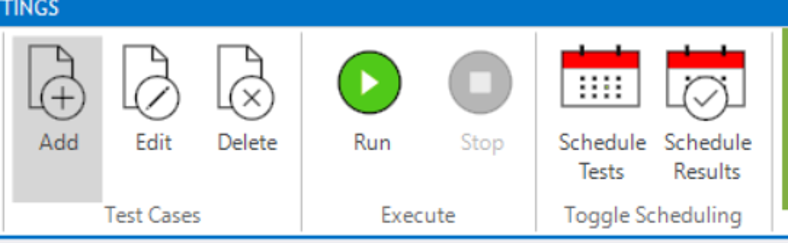
1. Click on the “Add” test case button as shown below.
2. New test case wizard will appear on the screen, fill the test case name and description to create a new test case.
3. Select the Navigate tool item from the toolbox window, then drag and drop it into a test case window.
4. Navigate tool item configuration wizard will be opened. Enter the following details to configure navigate wizard.
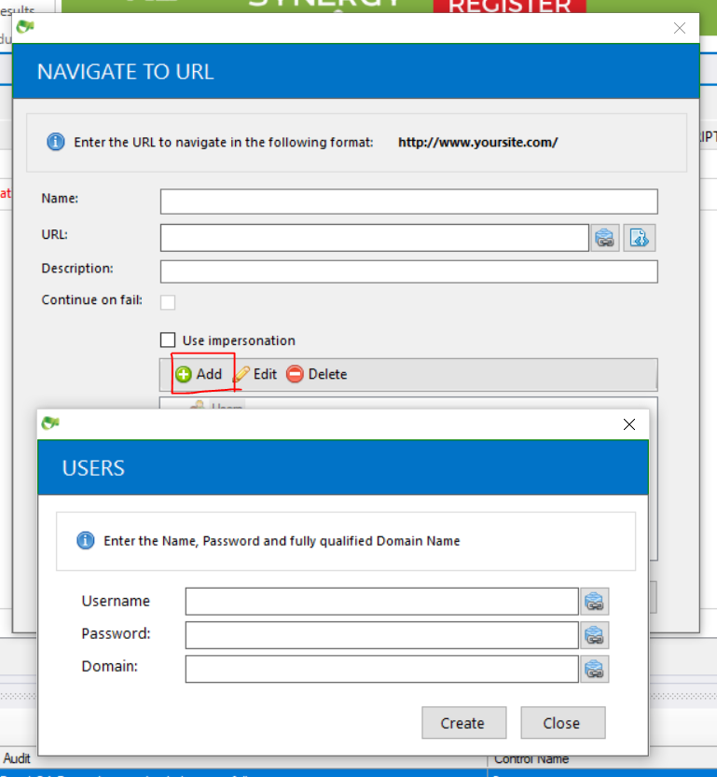
- Enter name, URL (K2 URL) and description of the tool item.
- Check the “Use Impersonation” checkbox.
- If the link needs impersonation, click on the “Add” user button. Enter the username, password, domain name and click “Create” button.
- Click the “Accept” button in the configuration wizard.
5. Drag and drop the “Interaction” tool item from toolbox and configure it as shown below.
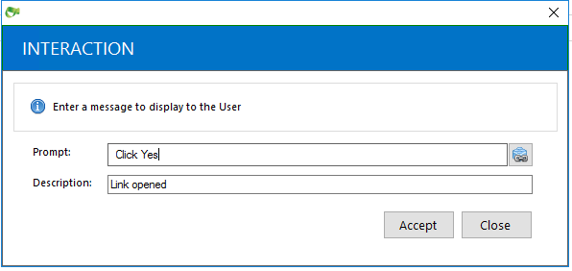
6. The interaction control is used to show messages to the user while running the automated test.
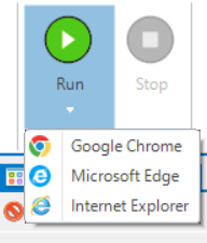
7. Click on the run button in the menu bar and select the browser on which you want to open the K2 form. Now you can see the K2 form is opened and logged as the given user.
8. Click “Yes” on the interaction window
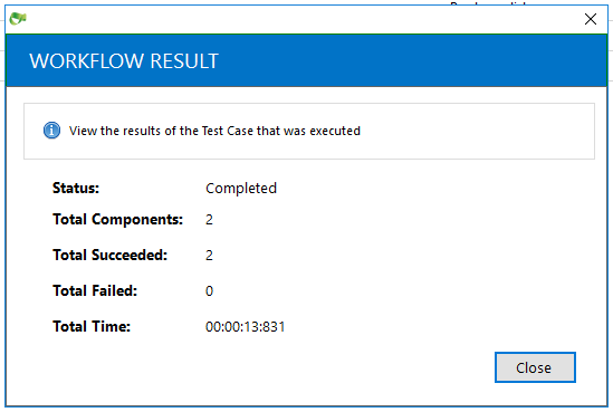
9. Then you can see the test result in quick summary as shown below.
10. Finally, you can see output window on the bottom of the BenchQA window which give you the details execution details about the test as shown below.
